Programs required: Adobe InDesign, Google Drive desktop app
How it started:
This past semester at Michigan (Taubman College of Architecture + Urban Planning), professor Mitch McEwen taught a studio called "99 Houses" sited in Detroit. As the studio progressed, I led the charge for producing a publication that would pull together all 12 of our projects so we could disseminate the work to the Detroit residents with whom we had been in contact.
The task:
The book needed to be a working document that would be produced concurrently with the work of the studio. This meant I needed to figure out a workflow that would facilitate quickly responding to Mitch's feedback, and easily incorporating revisions from all 12 of us that were regularly working on our projects. This workflow uses separate InDesign files from multiple users, automatically updates them using the Google Drive desktop app, and utilizes the InDesign Book file type to create a live-updating book file with little to no work required by the organizer once the files are set up.
Main idea:
Sync your computer to a master Google Drive folder using the Drive desktop app
Have contributors use a master InDesign file (.indd) template to create layouts
Use the .indd files in your synced Drive folder to populate an InDesign Book (.indb)
Add your front/back matter
Contributors upload their layouts to the Drive throughout the design process
Export PDF to book as contributors update their .indd files
1. Get Google Drive for desktop
Google Drive has a desktop app for both Windows and Mac that will automatically sync the folders you select from Drive to an offline folder on your computer. This is the basis of automating this task; not having to download a bunch of folders each time revisions are made makes everything much easier. At the time I'm posting this, you can find both Windows and Mac versions of the program at this link:
https://support.google.com/drive/answer/2374987?visit_id=1-636295405338551655-3195253946&rd=1
In the settings, you can tell the program to only sync certain folders in your Drive. That way, the program isn't constantly updating all of your Drive files every time you reboot your computer or add files.

2. Set up a master InDesign file with page numbers, contributor names on the master page
Create a new InDesign document with your desired dimensions. Start on page 2 (see image), otherwise your document will start with a page on the right side. Make sure the document has an even number of pages.
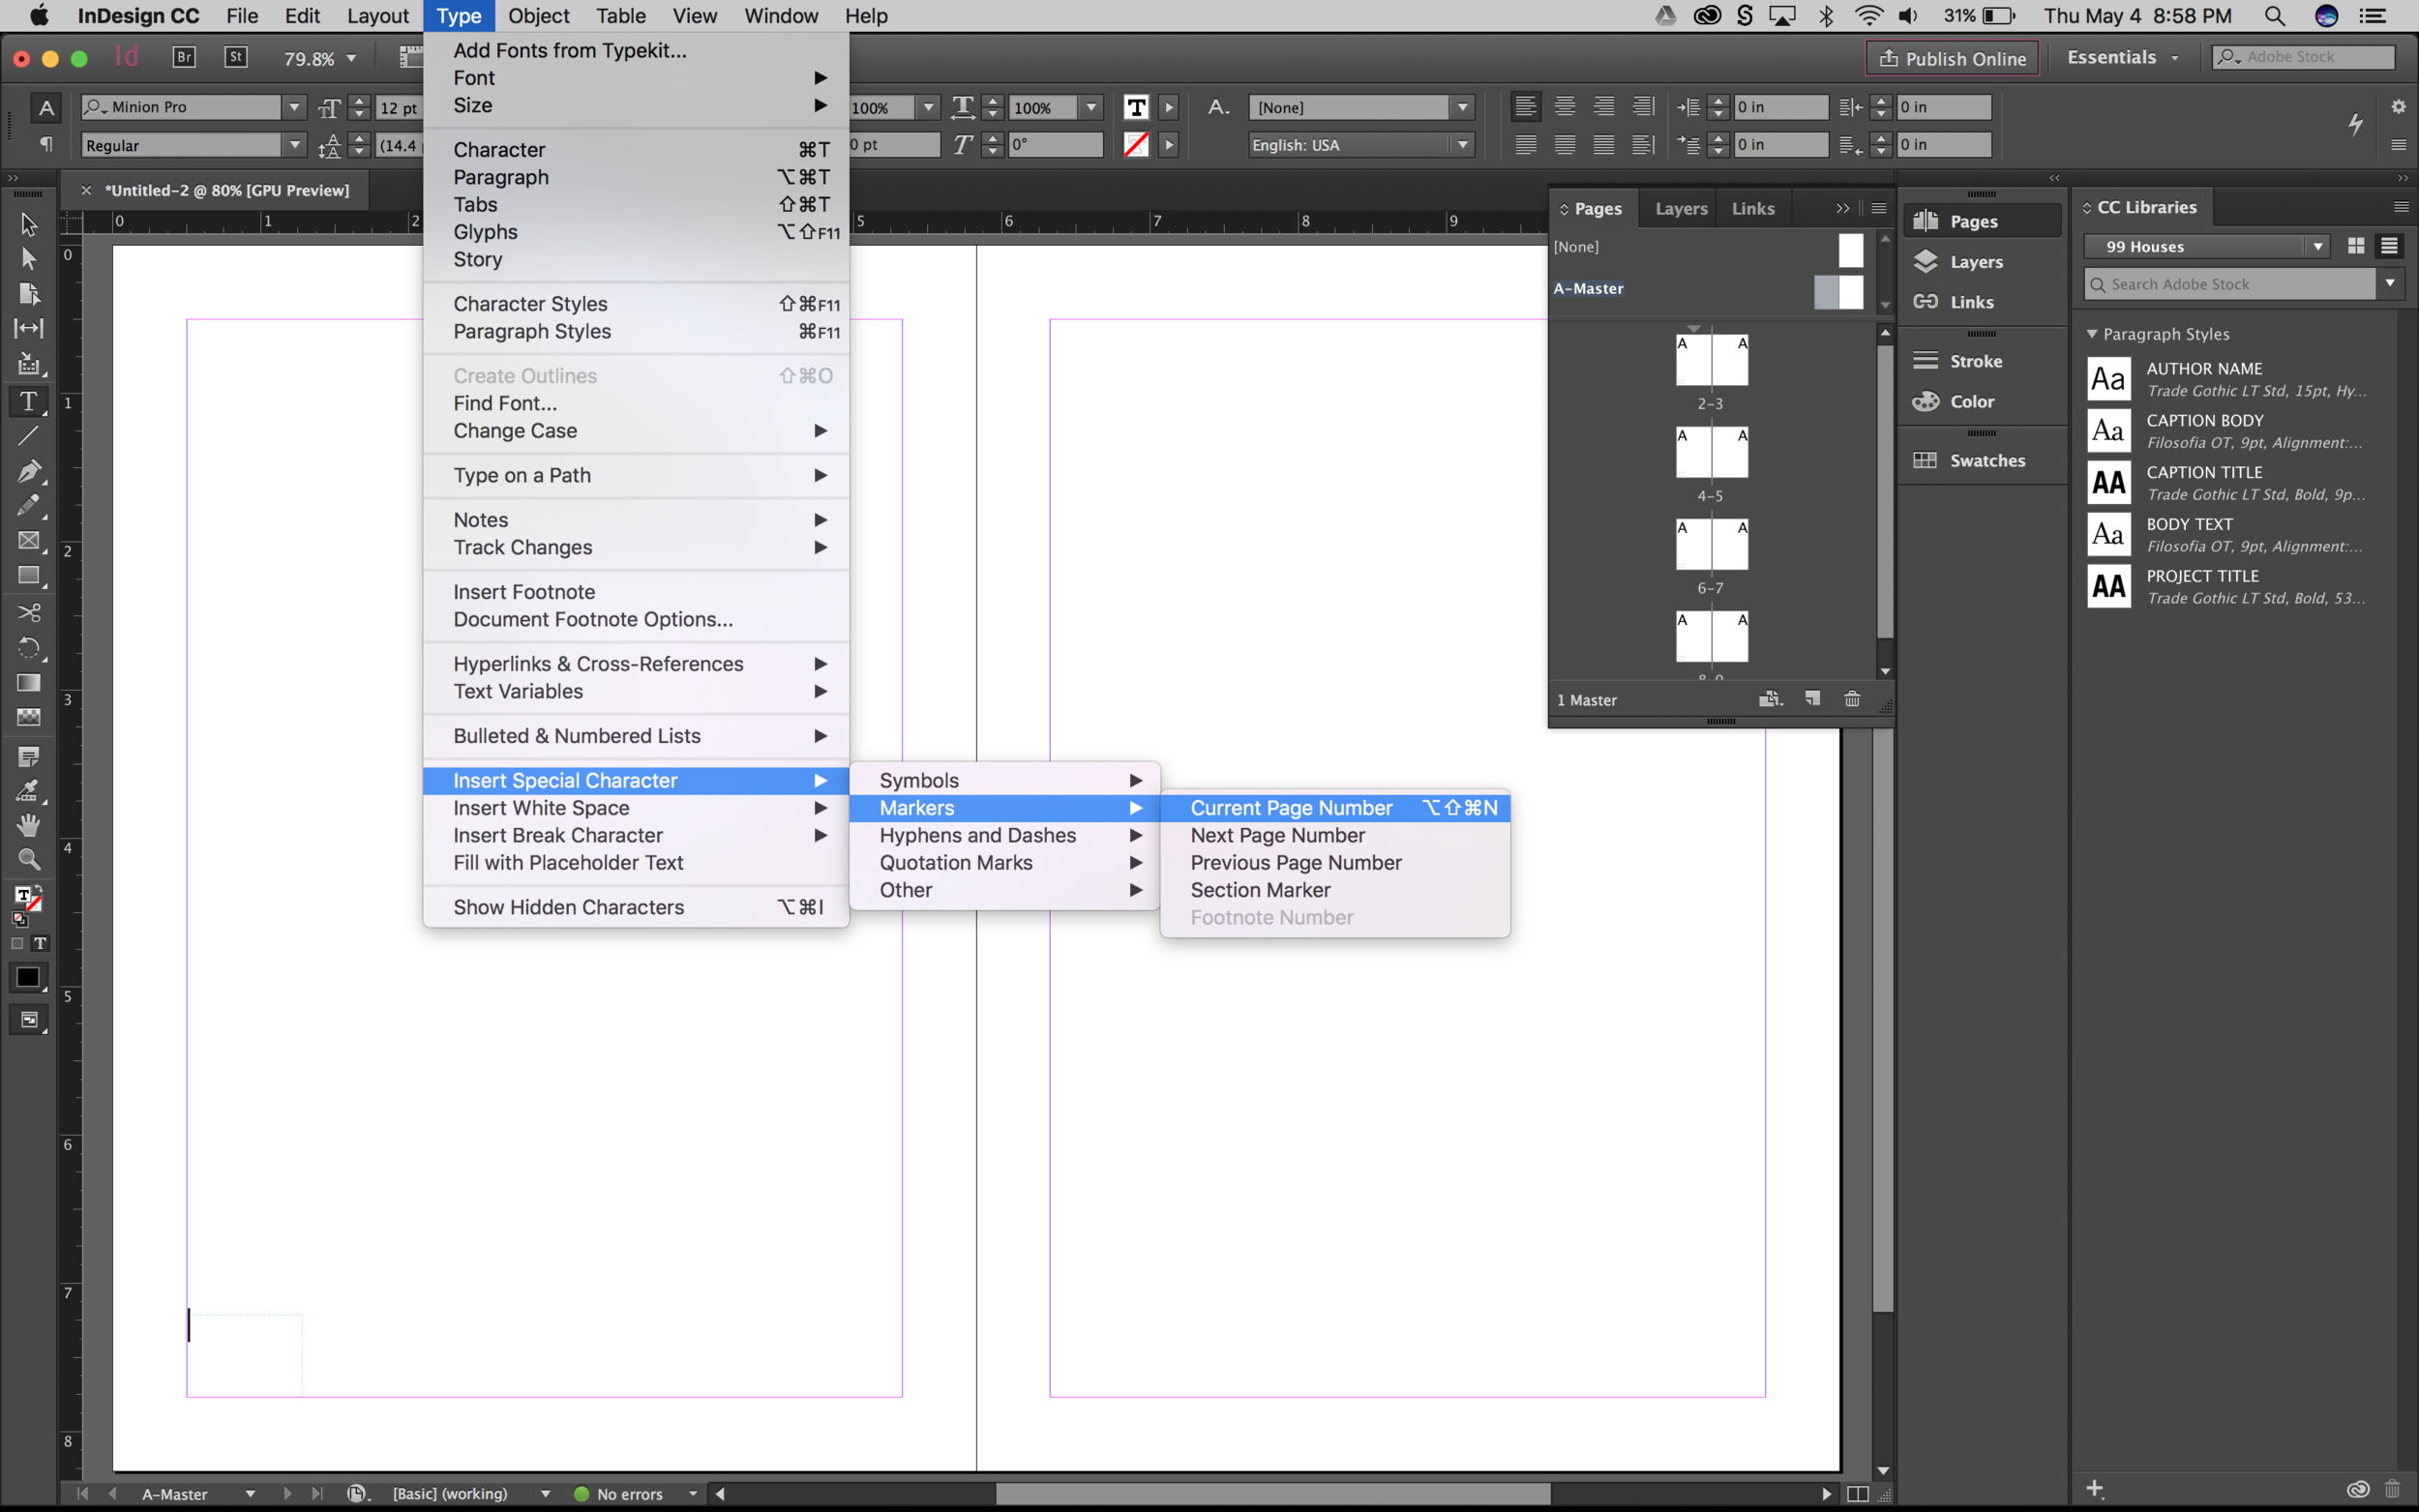
Set up master pages with page numbers. Open the A-Master, make a new text box, and place a "Current Page Number" special character from the Type menu (see below). On these pages, add information that identifies the specific project (I had contributors change their individual names and project titles on their master pages). Put the file up on the Drive, and have contributors use it when they make their spreads. There are a few important rules for contributors to follow so they don't break the workflow:
1. Each person should set up their own folder within the master Drive folder. This folder should include both the .indd file and the linked documents. There is no need to have contributors package their .indd files, they just need to upload the .indd and the links.
2. Contributors must always resave over the same file with the same file name, otherwise the book file will not recognize the change.
3. Set up the InDesign book file
Go to File>New>Book, choose your file location, and a small, empty dialogue box will appear—this is the only visual instantiation of a book file in InDesign. Add .indd files from your synced Drive folder by selecting the three bars at the top right of the box, then Add Document. Add all of your files, and change the order as needed. As you order the projects, the page numbers will automatically update. You can turn this off by selecting "Book Page Numbering Options" and deselecting "Automatically Update Page & Section Numbers." Make sure to turn it back on when you're done, so the page numbers update before you export the book.
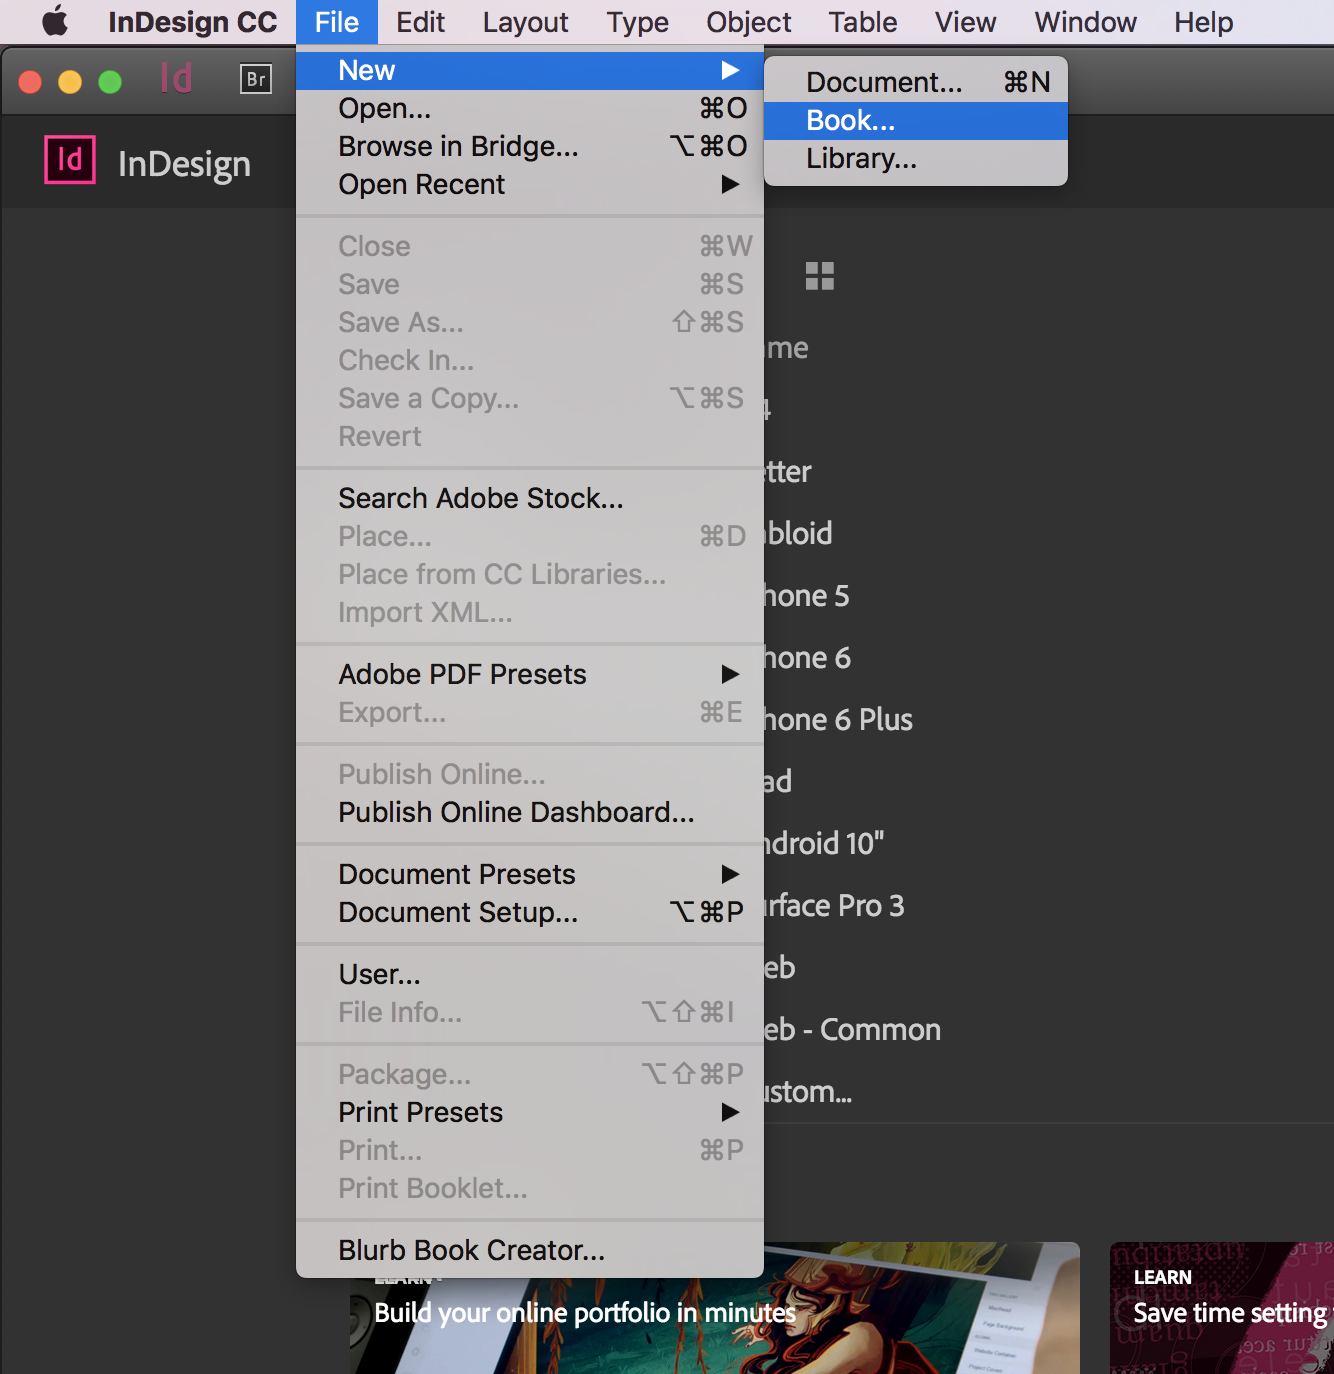
Start a new InDesign Book file.

Add new documents.
4. Add front/back matter
This step is self explanatory—add the rest of the files you might want included in the book: Cover, Table of Contents, Postscript, etc. I change the numbering options of these files to roman numerals just to set apart the content of the book with everything else.
5. Contributors make all the changes, you don't have to do anything!
If you aren't seeing the changes, there are a few different things that could have gone wrong:
1. Your Drive settings may not be set to automatically sync the documents in the folder you set up.
2. Contributors may have changed file names.
6. Export book to PDF
Select the three bars, hit Export Book to PDF, and you're done!